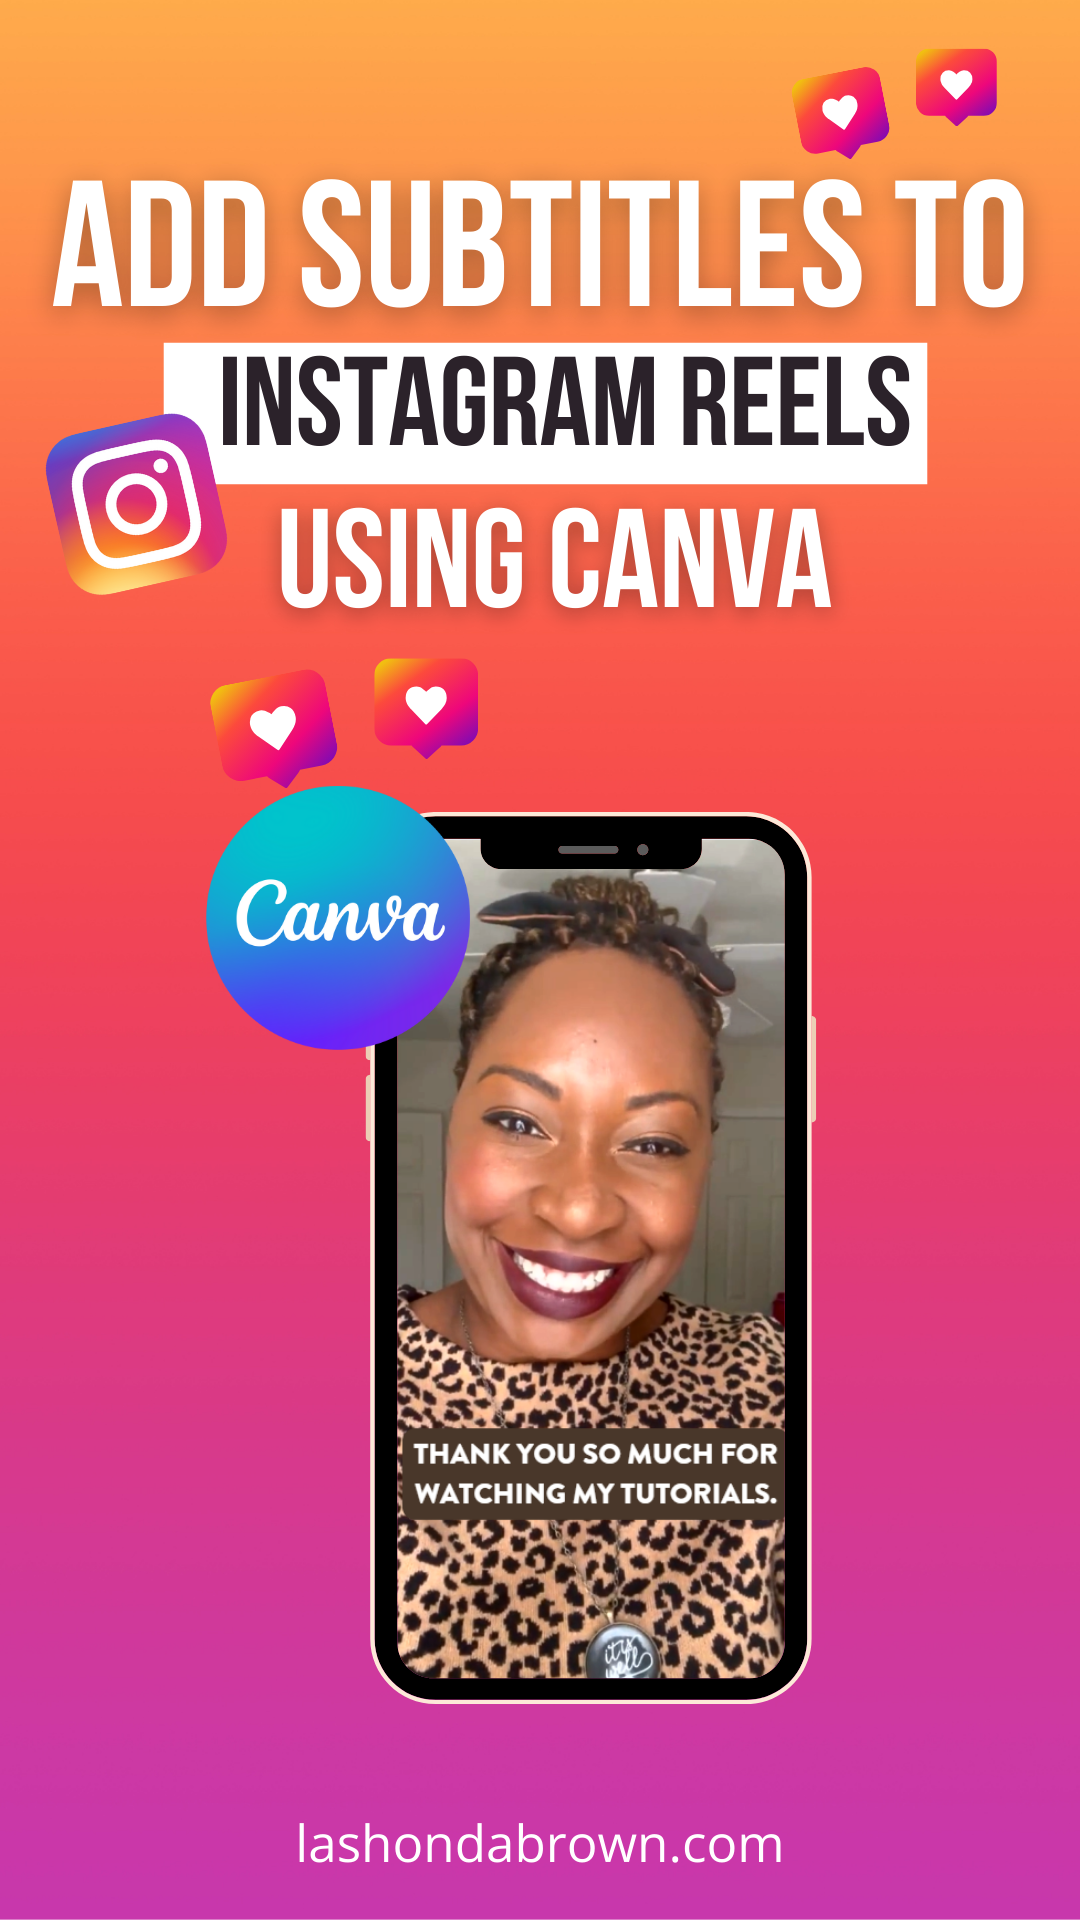
How to Add Subtitles to Videos in Canva (Instagram Caption Hack)
If you’re tired of Instagram’s limited text tools when editing Reels, or if you’ve ever tried to add timed captions by hand and nearly lost your mind, this is going to be as revolutionary for you as it was for me!
The editing tools within Canva keep getting better, and I wanted to share one of the Canva hacks for Instagram that I recently came across.
I’ll show you exactly how to add subtitles to videos in Canva, and use them for Instagram Reels!
This hack for making Instagram reels in Canva uses Element timing to add on-brand Instagram captions and text overlays that actually appear when you want them to.
You can even underline or highlight text in Canva to make it pop even more!
It’s a fantastic Canva hack for editing Reels outside of Instagram, especially if you want more control over style and timing.
How to Add Subtitles to Videos in Canva
Instagram Reels are one of the best ways to grow on Instagram right now, and one popular style is using B-roll clips with text overlays.
I often film behind-the-scenes footage at photo shoots and repurpose those clips into Reels. I can easily turn B-roll into multiple pieces of high-performing content by adding timed captions and value-packed tips.

But to be completely honest, I find the text features in the Instagram App pretty frustrating.
That’s why when Canva rolled out Element Timing, I immediately started making captions for my Instagram Reels in Canva.
So, instead of manually typing and trimming each text box inside the Instagram editor, I use Canva’s Element Timing feature to add subtitles to my videos, create perfectly timed text overlays, and match everything to my brand fonts and colors.
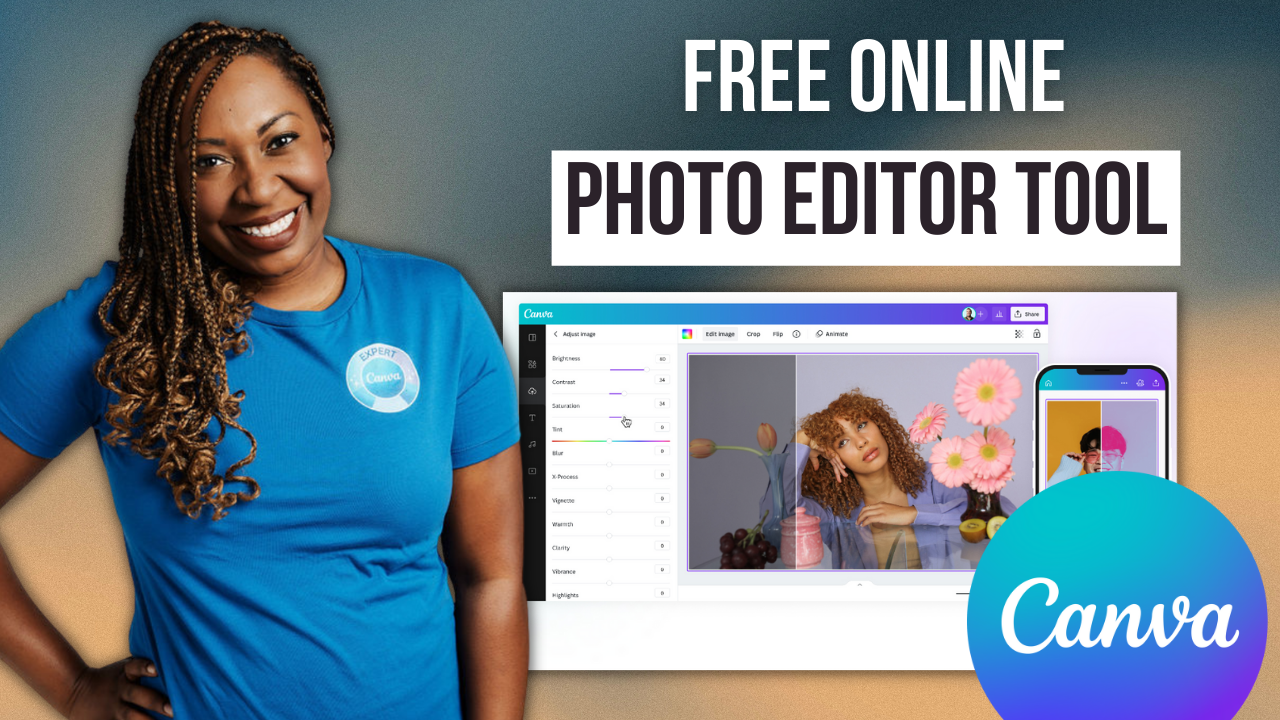
Step 1: Upload and Prep Your Reel in Canva
First, open your Canva dashboard and click on the Instagram Story template — it’s the perfect size for Reels.

Then upload your video clip, and make any necessary adjustments before you start editing the captions.
Flip the video (this is particularly necessary if you have text showing on your shirt, in the background, or on any jewelry).
Adjust contrast and brightness.
Apply filters (Canva Pro has some great ones!)
Step 2: Add Captions to the Video
Once your video looks how you want it, open the Notes section under the video and type your captions line by line.
What I love about doing subtitles inside of Canva versus Instagram is it's so much easier to start and stop the clip, and being able to type everything in one convenient location means you can just copy and paste it when you’re done.
To get access to a 30-Day FREE trial of Canva Pro visit lashondabrown.com/canva
This is the longest free trial available for Canva and was provided to me as a Canva Verified Expert. Use this affiliate link to claim your 30-Day trial and support the channel at no additional cost to you.
So it often takes me just a few seconds versus 5-10 minutes inside Instagram.
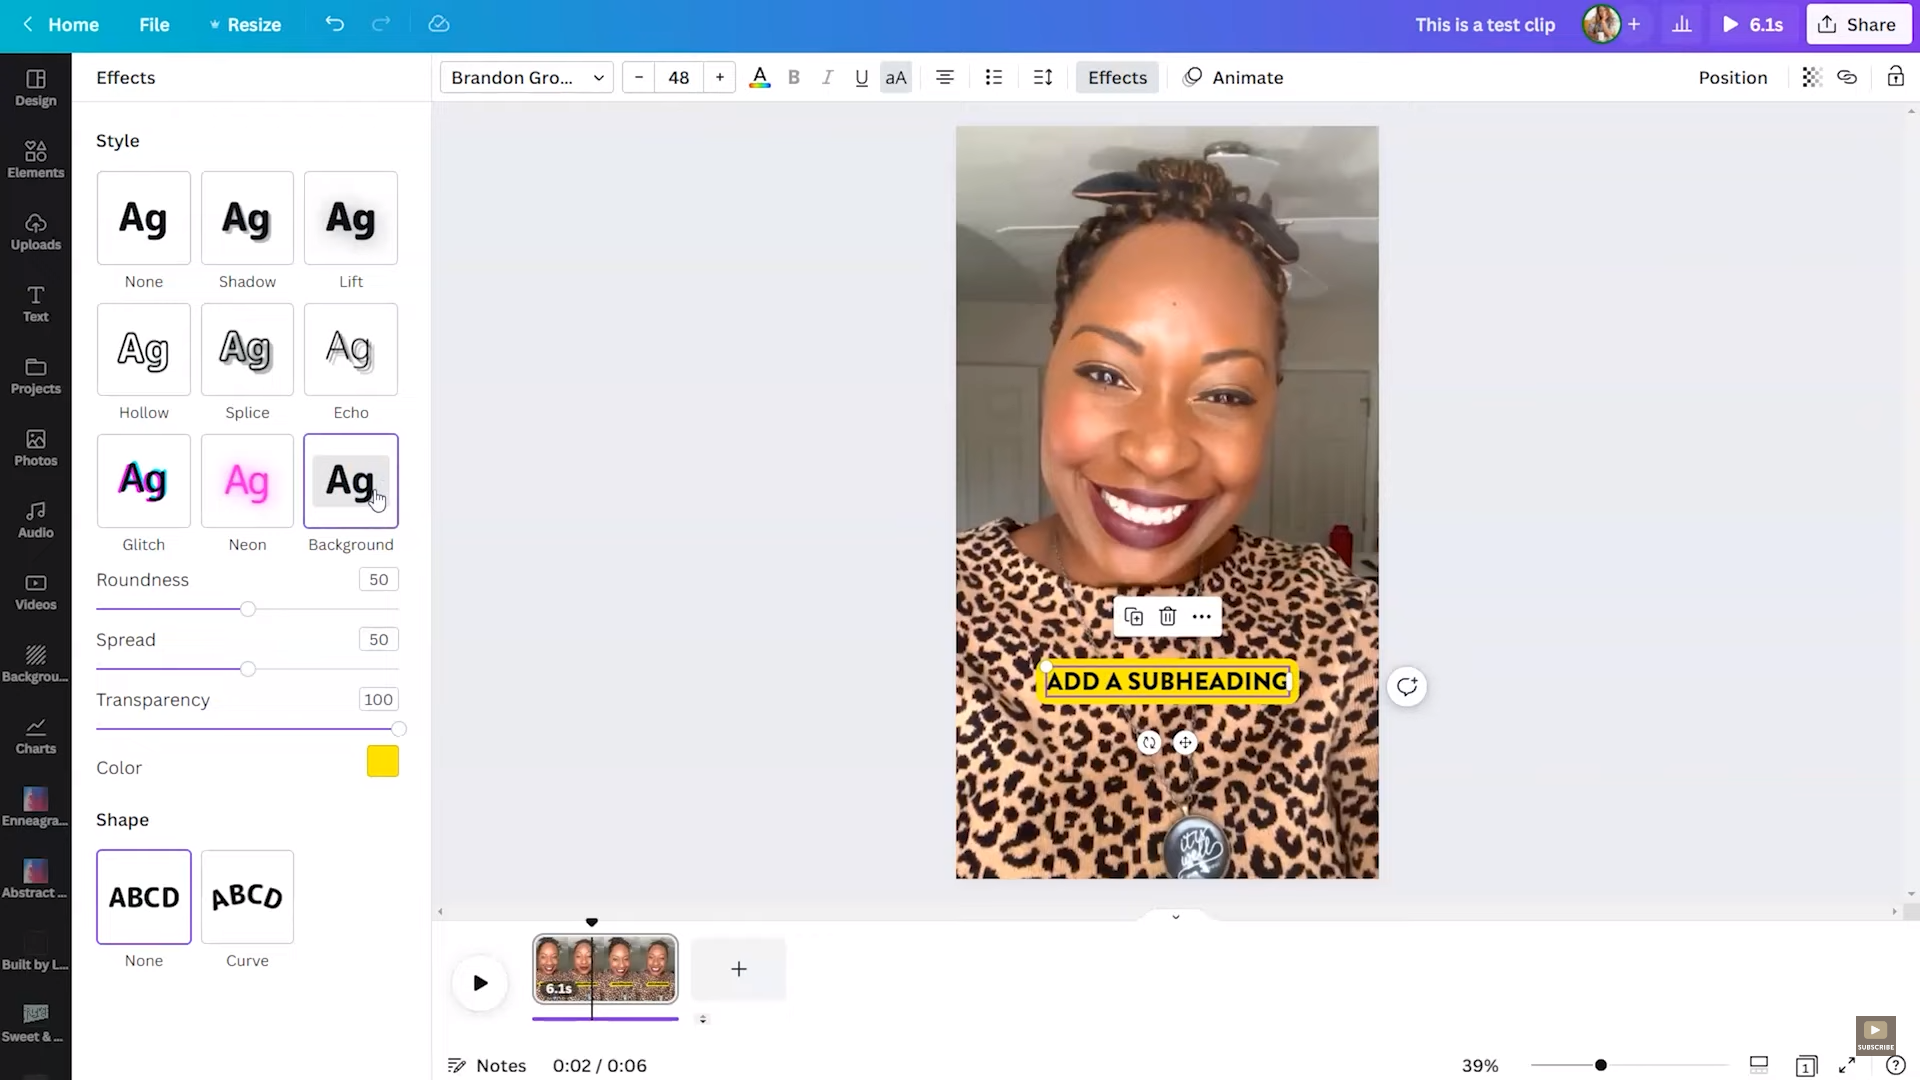
After writing your captions, you can style them however you would like.
Click into the Text tab and choose a font from your Brand Kit (exclusive Canva Pro feature).
Position your text where it won’t block your face — I usually place mine near the bottom.
After a couple of lines of text, start a brand new subtitle.
This is also how to highlight text in Canva or underline it to make it stand out even more.
You can also make other edits to the letter case (I love to make my captions to be all-caps), add a background to the text if you need better readability, or even add shape to the text or adjust the spacing if you’d like it to have a different look.
Once I have a caption design I’m happy with, I simply duplicate (CTRL + D) your text box and swap out the copy for each new caption line.
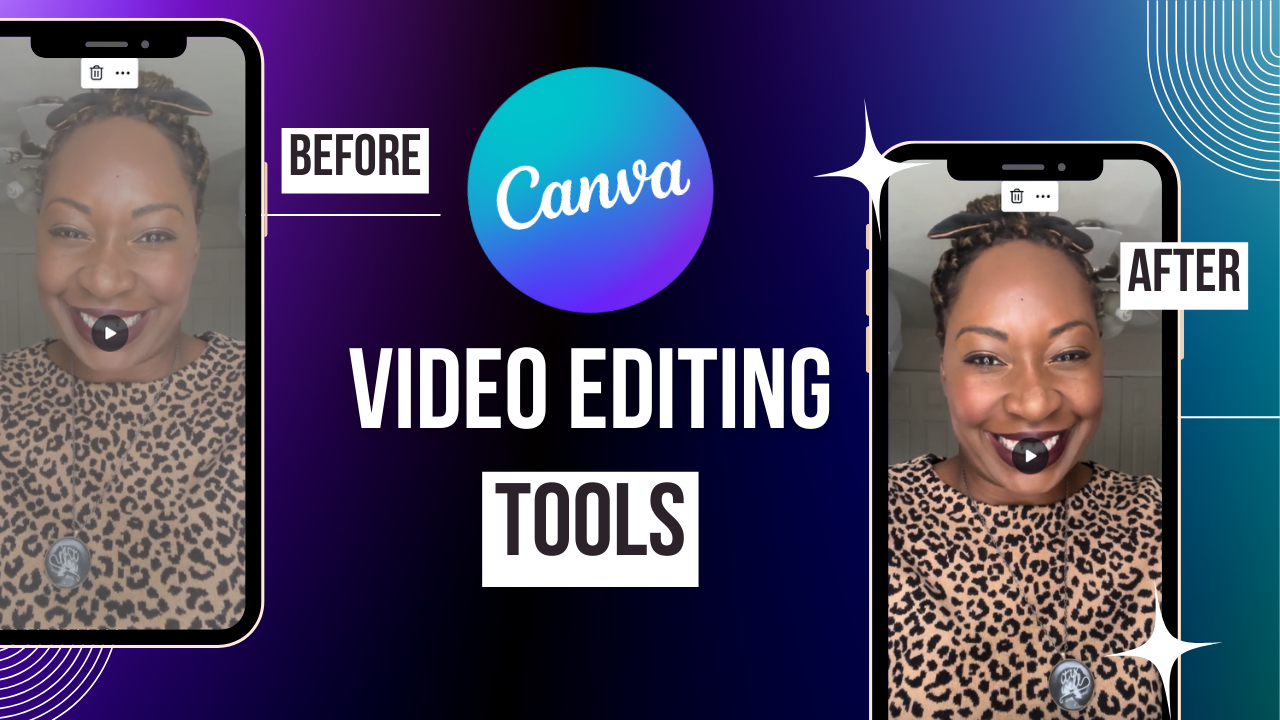
Step 3: Use Element Timing to Sync Text with Video
Now comes the part that saves me the most stress: Element Timing.
Once you have your subtitles on your clip, we will select all text, click the three dots to expand the options, and then choose Show Timing.
From there, locate a little arrow in the right-hand corner, and click it to reveal all your text boxes.

Then you can select each text individually and drag it from left to right to start and stop exactly when you want. Depending on when you want them to appear, you can stack them or space them out, and even animate your captions using effects like Pan, Wipe, or Bounce for a more dynamic reel.
Click Play in the left-hand corner to preview the timing and adjust the text as needed.

Final Thoughts
Element Timing has been a massive time-saver for me, and once you learn how to add subtitles to videos in Canva with the tool, I’m certain you’ll never do it any other way!
You can upload multiple clips into Canva, adjust your lighting, apply filters, and add text later—all in one place.
Good luck using this to create more engaging Instagram captions!
If you’re using Canva for Instagram regularly, you’d also benefit a ton from learning how to create Instagram Reels directly in Canva.
I even use Canva to create seamless carousel posts!
Pin This Post

you might also like: