
DIGITAL STICKER Tutorial for Canva
The built-in cut-out tool in Instagram is a bit all over the place. So in this tutorial, I'm going to show you how to make your own digital stickers in Canva. Without further ado, let's hop in.
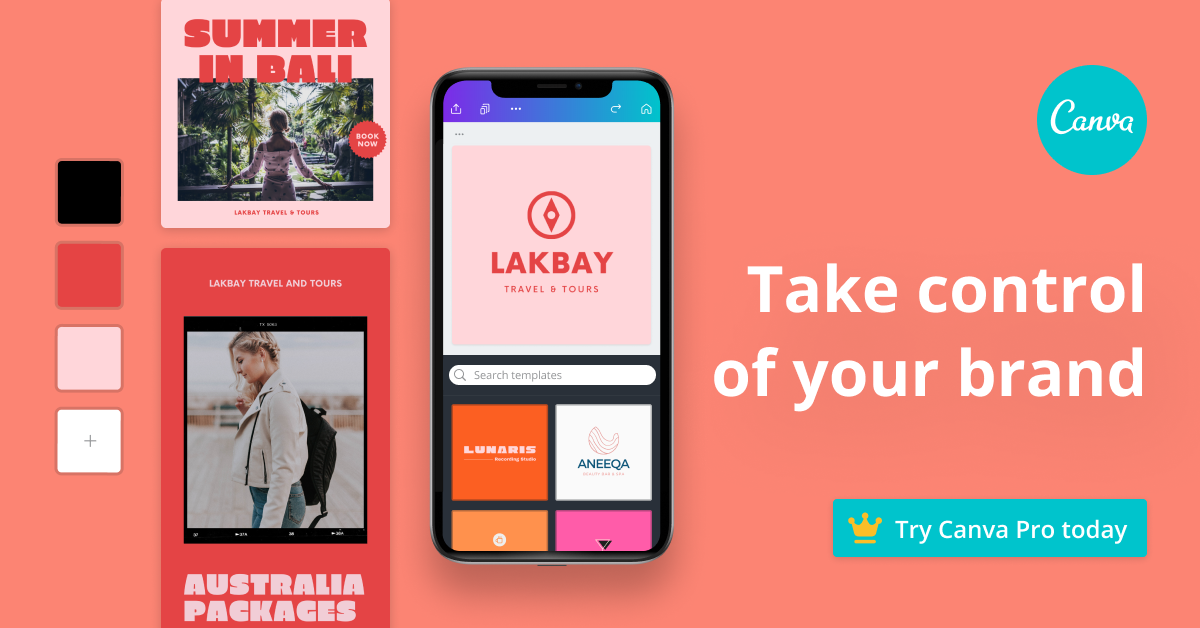
Before we start talking about digital stickers. I want to remind you that Canva Print is a thing. Not only can you print postcards and even T-shirts, you could actually create custom stickers and have those printed within Canva as well. This is something that is not as well known, so I want to draw your attention to that. I also did a video about Canva Print if you want to learn more about my personal experience creating things in Canva and also sending them through Canva to be printed and turned into physical designs. As always, if you would like access to a free 30-day trial of Canva Pro you can go to lashondabrown.com/canva.

We're going to use the physical sticker template and simply save it as a digital file. So in this case, I want to start with a circle sticker as a template. But you can see they have templates available that are oval-shaped, rectangular, square, and even bumper sticker-shaped. There's a wide range of sticker templates to choose from, from ones that look like a label to those that are illustrated or more business-friendly.

The one that immediately caught my eye was the summer camp sticker in the bottom left-hand corner. I'm going to hover over that design and go ahead and click on it, which will open it up in the Canva Design Editor. The first thing we need to do is get acclimated with the design. Don't worry if you see the Canva Print pop-up on the right-hand side, you can simply click on the X, and that will open up more design space within the editor. This is really what they were going for with the glow-up, to make the design space less distracting by allowing you to expand and compress the taskbars.

Let's click around on this design and see how much of it we can actually change. So it looks like this is a text box. This is a text box as well. The center looks like it's all one element. These dots can change, and we can change colors of the background sticker itself. So what I'm going to do here instead is I'm going to change the text and the colors to fit my brand. You can see, in this case, what I wanted to put below the tent was not quite as wide as what was previously there. So I have a few options. I can add more words, or I can increase the size and increase the spacing. So what I'm going to do here is click on that text and just increase the size here. And you can see it's starting to get really close to the edges.
To get access to a 30-Day FREE trial of Canva Pro visit lashondabrown.com/canva
This is the longest free trial available for Canva and was provided to me as a Canva Verified Expert. Use this affiliate link to claim your 30-Day trial and support the channel at no additional cost to you.

Now we'll click on Effects and start to edit the curve. Curve that up a bit more. And then we're going to change the letter spacing by clicking on spacing at the top and dragging out the letter spacing. When your design is complete, we're not going to click on print with Canva, because we don't want this to actually be a physical sticker. Instead, we're going to click on Share, Download, and if you are using a Canva Pro account, you're going to see the ability to select transparent background. That is what's going to allow you to turn this design into a sticker that you can overlay on an Instagram story.
Now that your sticker has been created, all you need to do is send it to yourself in order for you to access this within Instagram. Typically, I will just upload it as an attachment to an email because I have the Gmail app on my phone, but you can also utilize Google Drive or Dropbox. From there, I'm going to create an Instagram story, and I will drop in a photo. I'll make that photo smaller, and then if I click on the icon in the middle, I can import this as a photo.

And you can see here I now have my own custom sticker that doesn't have the background that I can place on an image on an Instagram story. So this is a really cool way that you can make your Instagram stories more on brand and visual interest that you couldn't do directly in Instagram.
I hope you found this tutorial useful, and if you happen to use it, just tag me @Lashondambrown on Instagram so I can see your finished designs. Thanks so much for reading this post. If you don't already have Canva Pro and you would like to get access to a free 30-day trial while supporting the channel, go to lashondabrown.com/canva.
Pin This Post


you might also like:


